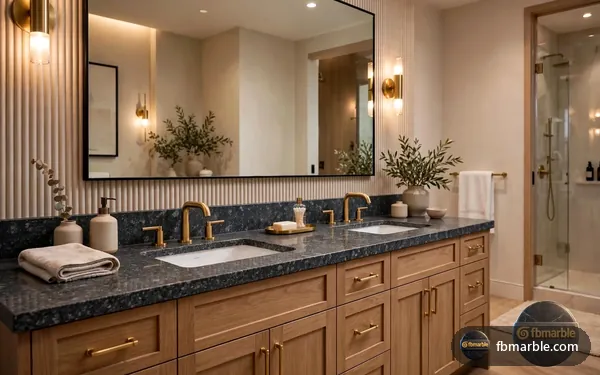
Why Choose an Undermount Sink?
- Clean, modern appearance
- No rim to trap dirt
- Easy to wipe counters into the sink
- Shows off the polished edge of the stone cut-out
Before You Start
The countertop must have a precisely cut and fully polished sink opening, made by the fabricator to match the sink template. The sink and taps should be on site before templating so the cut-out is accurate.
Step 1: Remove Dust and Clean the Area
Clean the underside of the countertop around the cut-out and the sink rim with isopropyl alcohol. Adhesives bond only to clean, dry surfaces.
Step 2: Prepare to Install the Sink
- Dry-fit the sink under the opening to check alignment and the reveal (how much of the sink edge shows).
- Mark the position.
- Prepare clips, brackets or a support frame. Heavy sinks — especially composite granite sinks — need strong support.
Step 3: Attach the Sink Under the Counter
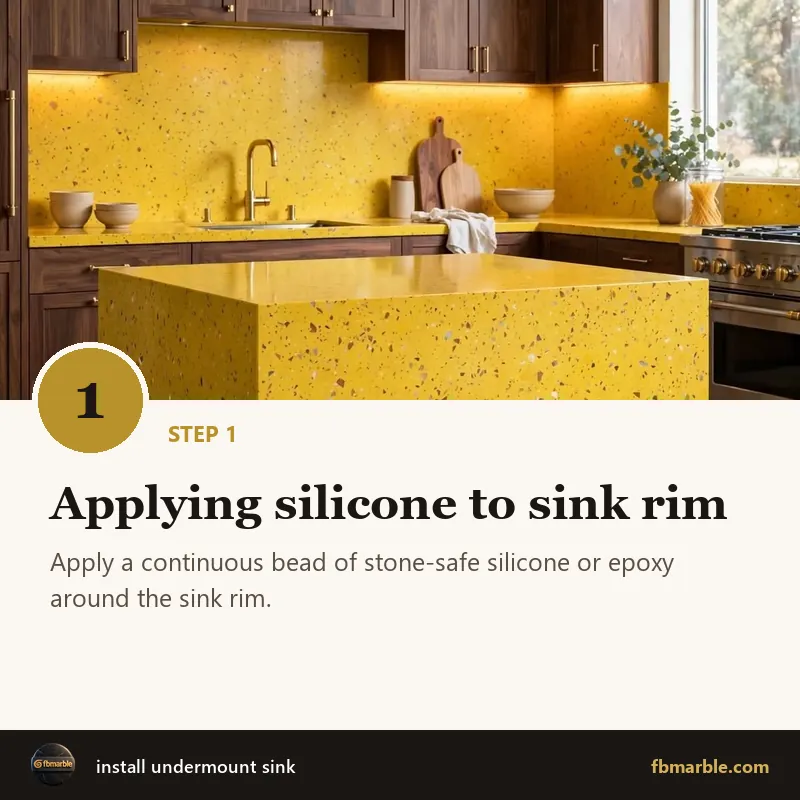
- Apply a continuous bead of stone-safe silicone or epoxy around the sink rim.
- Lift the sink into position from below and press it against the underside of the counter.
- Check the alignment from above.
- Secure the sink with mounting clips anchored into the stone (using inserts drilled by the fabricator) or with a support frame or brackets attached to the cabinet.
Step 4: Support and Cure
Support the sink with a brace or clamps while the adhesive cures — typically 24 hours. Do not use the sink during this time.
Step 5: Finalise the Installation
- Remove supports once cured.
- Wipe away excess silicone around the visible joint.
- Install taps, drain and plumbing.
- Run water and check for leaks.
Tips for a Long-Lasting Installation
- Use both adhesive and mechanical clips — never rely on adhesive alone.
- Choose stone-safe silicone that will not stain.
- Re-caulk the joint every year or two.
- Avoid hanging heavy weights on the sink edge.
Need Help Choosing?
Our team at FB Marble will help you compare samples, check full slabs and plan your project from measurement to installation. Call or WhatsApp +92 323 4148908, or visit fbmarble.com to explore our collections and request free samples.