8 Common Marble Fitting Problems on Site, and How to Solve Them
Most marble complaints are not about the stone. They come from how it was fixed. Here are the eight problems we hear about most from homeowners and contractors, with their causes and fixes.
When a new marble floor sounds hollow, turns patchy or cracks within months, the stone is rarely the cause. Most problems come from the base, the adhesive, the fixings or the order of work. The good news is that each one has a known cause and a known fix. This guide goes through the eight most common fitting problems, then gives a step-by-step check you can run on your own site in Lahore or anywhere else.
What you need on a well-run job
- A level, clean, sound base, with any structural cracks repaired first.
- Stone adhesive or mortar, applied with a notched trowel as a full bed.
- White adhesive or white cement under light marbles, and clean sand.
- Tile levelling clips for large formats, and spacers for even joints.
- Only stainless steel fixings behind or under the stone.
- The full quantity, plus around 10% extra, from one lot.
- Time: for the bed to cure and for the floor to dry before sealing.
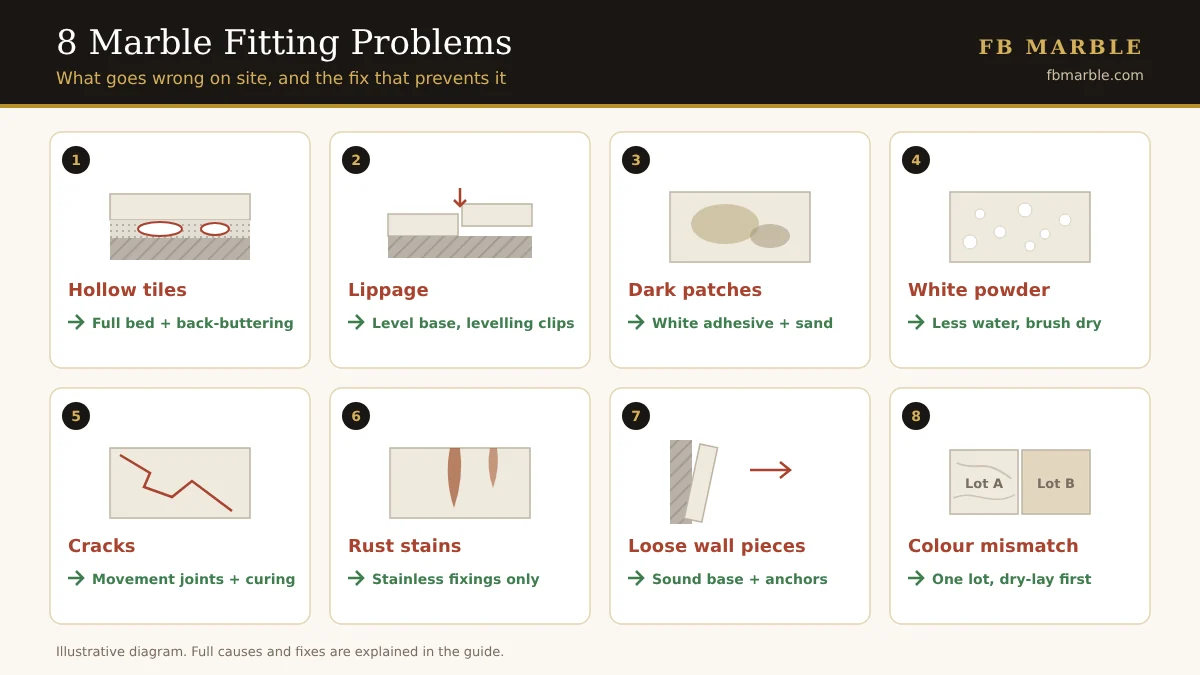
1. Hollow sound when you tap the floor
Cause: mortar or adhesive applied in dabs or with gaps, leaving air pockets under the tile. Hollow tiles crack under load.
Fix: use a full bed. Spread adhesive with a notched trowel and back-butter each tile, then press and tap it down. Lift a tile now and then to check full coverage. Existing hollow tiles may need lifting and relaying.
You can test a finished floor yourself by rolling a coin or tapping lightly with a wooden handle across each tile. A solid tile gives a dull, even sound. A hollow one rings. Mark hollow tiles with tape so they can be dealt with before furniture goes in.
2. Uneven edges between tiles (lippage)
Cause: uneven base, tiles of slightly different thickness, or no levelling aid on large formats.
Fix: level the base first, sort tiles by thickness, and use tile levelling clips on large tiles. Minor lippage on marble can be ground flat during polishing.
Lippage is easy to feel in bare feet and catches the edge of a mop or a chair leg. Check it with a straight edge laid across joints while the bed is still soft, because correcting it after the adhesive has set means grinding or relaying.
3. Dark or yellow patches on white marble
Cause: moisture and grey cement from below soaking into light marble, or iron in the sand.
Fix: use white adhesive or white cement under light marbles like Ziarat White and Sunny White, use clean sand, and let the floor dry fully before sealing. Some installers seal the back of light tiles before fixing. Patches from trapped moisture often fade as the floor dries out over weeks.
Ground floors in older Lahore houses can have rising damp, which keeps feeding moisture into the floor. If patches keep returning long after fitting, check for damp in the base or a leaking pipe below.
4. White powder on the surface (efflorescence)
Cause: salts in the cement or sand carried up by water as the floor dries.
Fix: brush it off dry and let the floor finish drying. Avoid washing it with acid, which etches marble. Reduce the cause with less water in the mix and good-quality materials.
5. Cracks soon after fitting
Cause: hollow spots, movement in the slab underneath, no expansion joints on large areas, or heavy loads before the bed has cured.
Fix: full-bed fixing, movement joints at room edges and across large areas, and no furniture or traffic until the adhesive has cured. Cracks in the structure below will come through any floor; fix those first.
Summer heat makes movement joints more important. Large floors in sunny lounges and verandas expand during the day and contract at night. Without a joint to take that movement, the stress builds up in the tiles.
6. Rust-brown stains
Cause: iron wire, nails or mild steel clamps behind or under the stone, or iron-bearing sand.
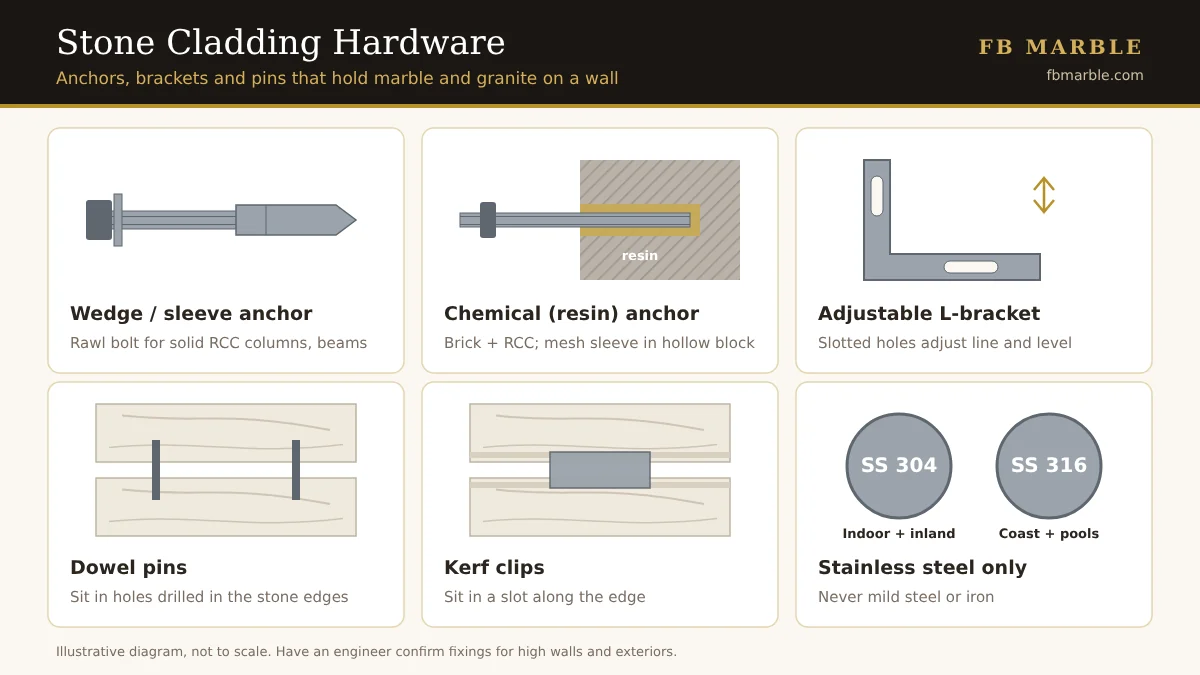
Fix: use only stainless steel fixings (see our hardware guide). Light rust stains can sometimes be drawn out with a specialist stone rust remover; deep ones may need the piece replaced.
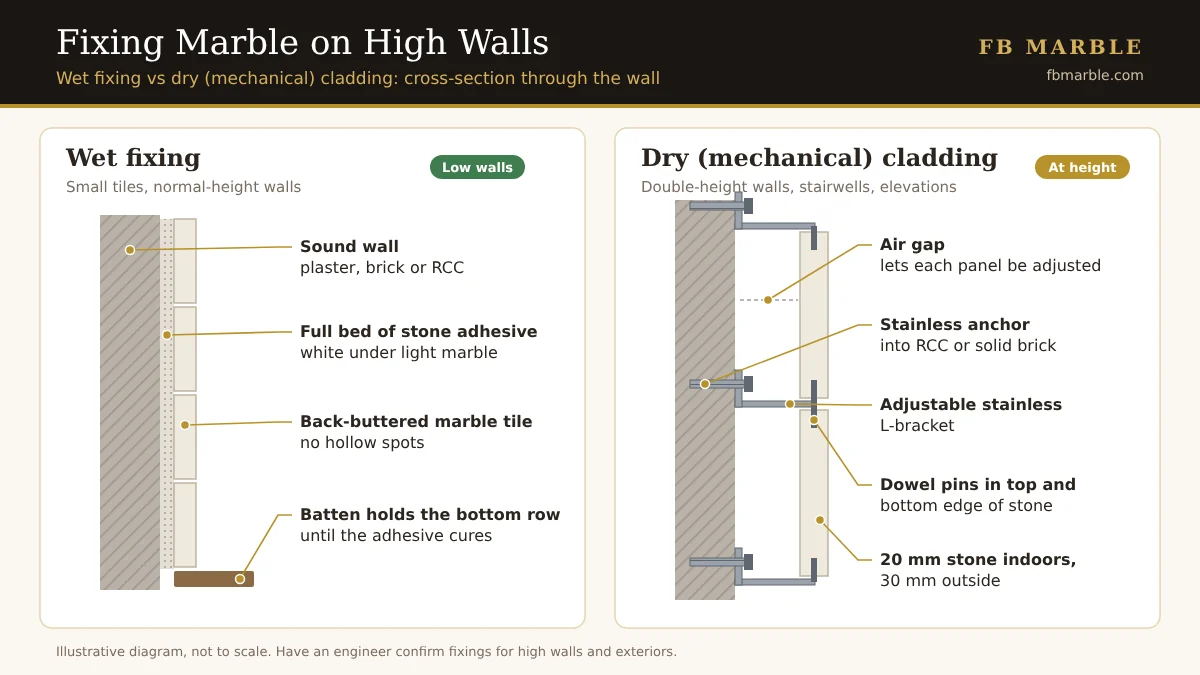
7. Wall pieces coming loose
Cause: stone fixed on loose plaster or paint, mortar-only fixing at height, or heavy pieces without mechanical support.
Fix: fix onto a sound, clean base, use stone adhesive with full coverage, and use stainless anchors or safety pins for large or high pieces. Read fixing marble on high walls.
8. Colour and pattern not matching
Cause: stone from different lots, or tiles fixed in random order.
Fix: buy the full quantity, plus around 10% extra, from one lot; dry-lay and number the pieces before fixing; and open several boxes at once to blend natural variation. Our square-feet guide helps you order the right amount the first time.
Quick reference
| Problem | Main prevention |
|---|---|
| Hollow tiles | Full bed and back-buttering |
| Lippage | Level base, levelling clips |
| Dark patches on white marble | White adhesive, clean sand, full drying |
| Efflorescence | Less water, good materials, dry brushing |
| Cracks | Movement joints, curing time |
| Rust stains | Stainless fixings only |
| Loose wall pieces | Sound base, anchors at height |
| Colour mismatch | Single lot, dry-lay first |
Step-by-step: checks before, during and after fitting
Step 1: Check the base
Before any stone arrives, walk the floor with a long straight edge. Fill dips, grind high spots and repair cracks in the slab. Make sure any plumbing under the floor has been pressure-tested, so nobody has to break new marble to fix a leak.
Step 2: Check the stone
Open several boxes or crates and lay pieces out in daylight. Confirm they are from one lot, sort them by thickness, and dry-lay the main rooms so the pattern flows. Number the pieces on the back.
Step 3: Check the materials
Look at what is on site: white adhesive or white cement for light marble, clean sand, stainless fixings, levelling clips and spacers. Remove any iron wire or mild steel clamps.
Step 4: Check during fixing
Lift a freshly laid tile now and then to see full adhesive coverage on its back. Check joints and lippage with a straight edge while the bed is soft, and make sure movement joints are left where planned.
Step 5: Check after fixing
Keep everyone off the floor until the adhesive has cured. Tap every tile for hollow spots. Let the floor dry fully, which can take weeks in cool or humid weather, before polishing and sealing. Brush off any white powder dry rather than washing it with acid.
Common mistakes
- Rushing to seal. Sealing a damp floor locks the moisture in and can fix dark patches in place.
- Washing new floors with acid. It etches marble and does not solve efflorescence.
- Ordering short. A small top-up order from a later lot rarely matches.
- Moving furniture in early. Heavy almirahs or a dining table on an uncured bed can crack tiles.
- Using grey cement under white marble to save time or cost.
- Ignoring cracks in the slab below. They will come through the new floor.
Stones in this guide

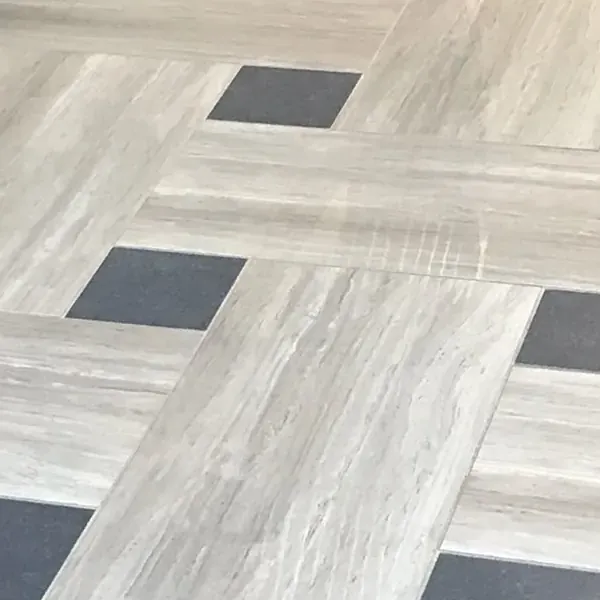
Estimated rates per square foot for the slab only, as listed on each stone's page. Rates move with stock and import costs, so confirm today's price on WhatsApp.
Frequently asked questions
Why does my marble floor sound hollow?
The adhesive or mortar was not spread as a full bed, leaving air pockets. Back-butter each tile and use a notched trowel for full coverage.
Why is my white marble turning yellow or dark after fitting?
Usually moisture and grey cement from below. Use white adhesive or white cement under light marble and let the floor dry fully before sealing.
How do I remove white powder from a new marble floor?
Brush it off dry and let the floor finish drying. Do not use acid, which etches marble.
How can I stop marble tiles from cracking?
Use full-bed fixing, leave movement joints, keep traffic off until the adhesive cures, and repair any cracks in the base first.
How much extra marble should I order?
Around 10% extra, all from one lot, so damaged or cut pieces can be replaced with stone that matches.
What causes rust-brown stains on marble?
Iron wire, nails, mild steel clamps or iron-bearing sand behind or under the stone. Use only stainless steel fixings to prevent them.
Want to see these stones in person?
Visit our showroom at Bedian Road, DHA Phase 6, Lahore, ask for free samples, or send us your measurements for a quote.