Supporting Stone Countertops and Floating Vanities: Brackets, Overhangs and Sink Cut-Outs
Stone counters are heavy and rigid, but they break if they are not supported in the right places. Overhangs, floating vanities and sink cut-outs are where most problems start.
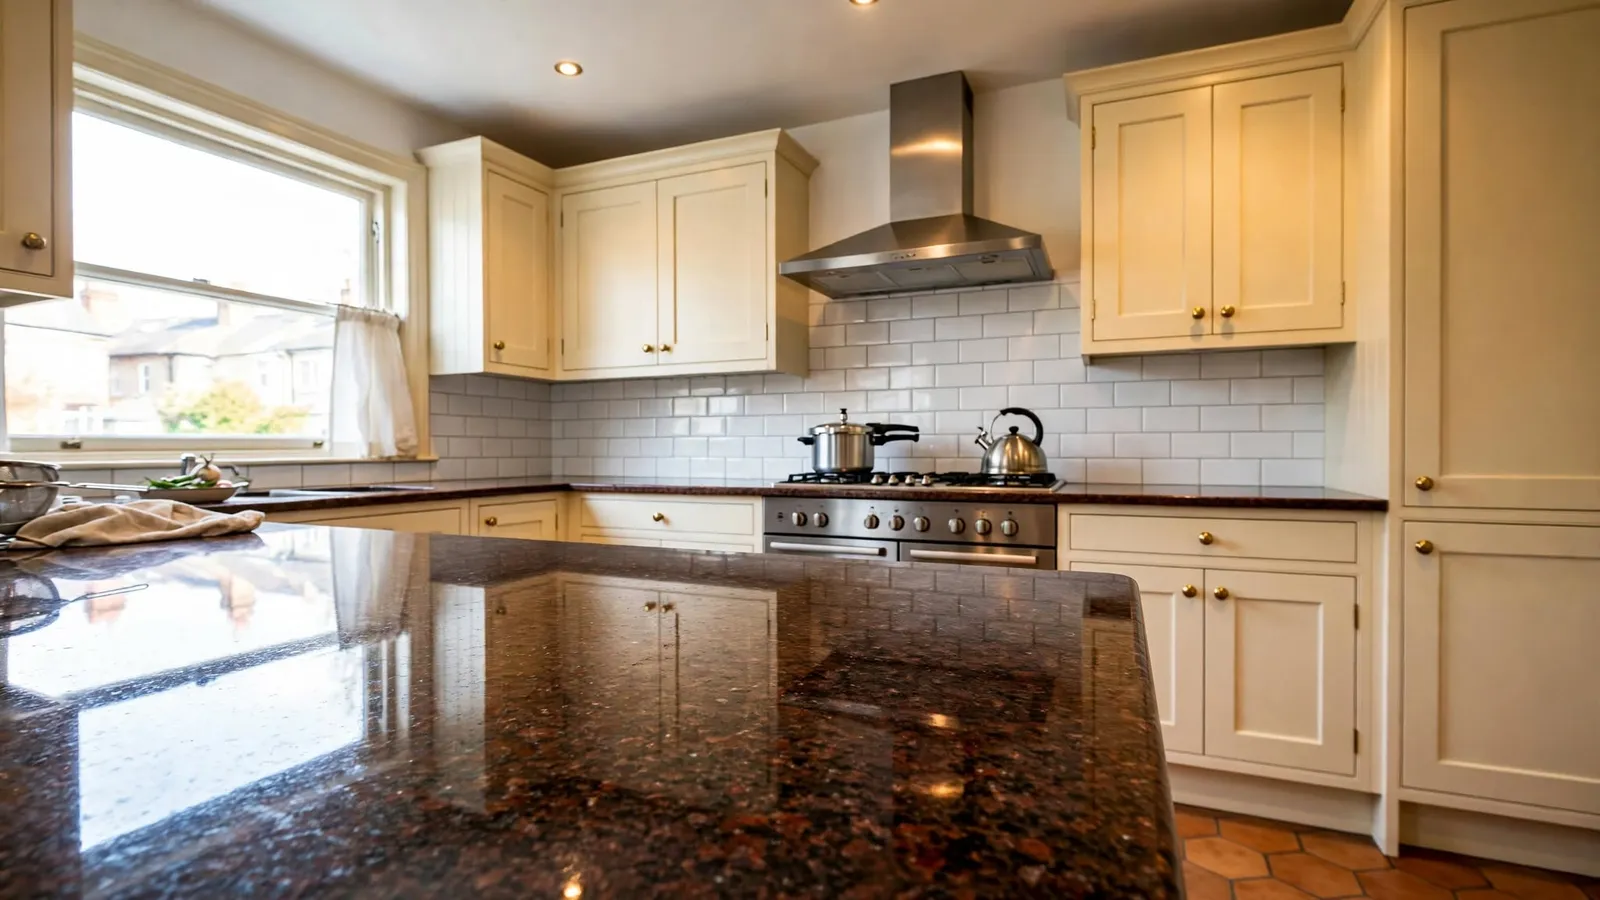
A 20mm granite or quartz countertop weighs about 5 kg per square foot. A 10-foot kitchen run with a 2-foot depth is roughly 100 kg of stone resting on your cabinets, before anyone leans on it. Good support is what keeps it flat, level and crack-free for decades.
At 30mm, granite weighs about 7 to 8 kg per square foot, so the same run is closer to 140 to 160 kg. Stone is strong in compression but brittle when it bends. It cracks when it is left to span a gap, hang too far over an edge, or carry a sink on a thin strip. This guide takes you through support step by step, from the cabinets underneath to the brackets, the cut-outs and the joints.
What you need
- Level, strong base cabinets, or a steel frame for floating tops.
- Steel angles or strips for wide openings such as a dishwasher gap.
- Hidden steel brackets, flat bars or corbels for overhangs.
- Anchors suited to the wall, such as chemical anchors in brick.
- A stone-compatible adhesive, sink clips or brackets, and silicone.
- Colour-matched epoxy for joints between pieces.
- Temporary props to support the front edge while adhesive cures.
Step 1: Check the cabinets underneath
- Cabinets must be level and strong, with supports at least every 60 cm or so along the run.
- Over wide openings, such as a dishwasher gap, add a steel angle or strip between the cabinets.
- Do not let the stone bridge over wide gaps with nothing underneath.
Check the cabinets with a spirit level along the front, the back and across the depth before the stone is templated. A cabinet that rocks or dips at one corner leaves the top resting on three points, and the unsupported area can crack when someone leans on it or puts down a heavy pateela. Carcasses made from thin board or damaged by water under the sink are worth replacing or reinforcing first.
Step 2: Plan how far the stone can overhang
| Overhang | What it needs |
|---|---|
| Front edge, around 25 – 40mm | Nothing extra; standard lip over cabinet doors |
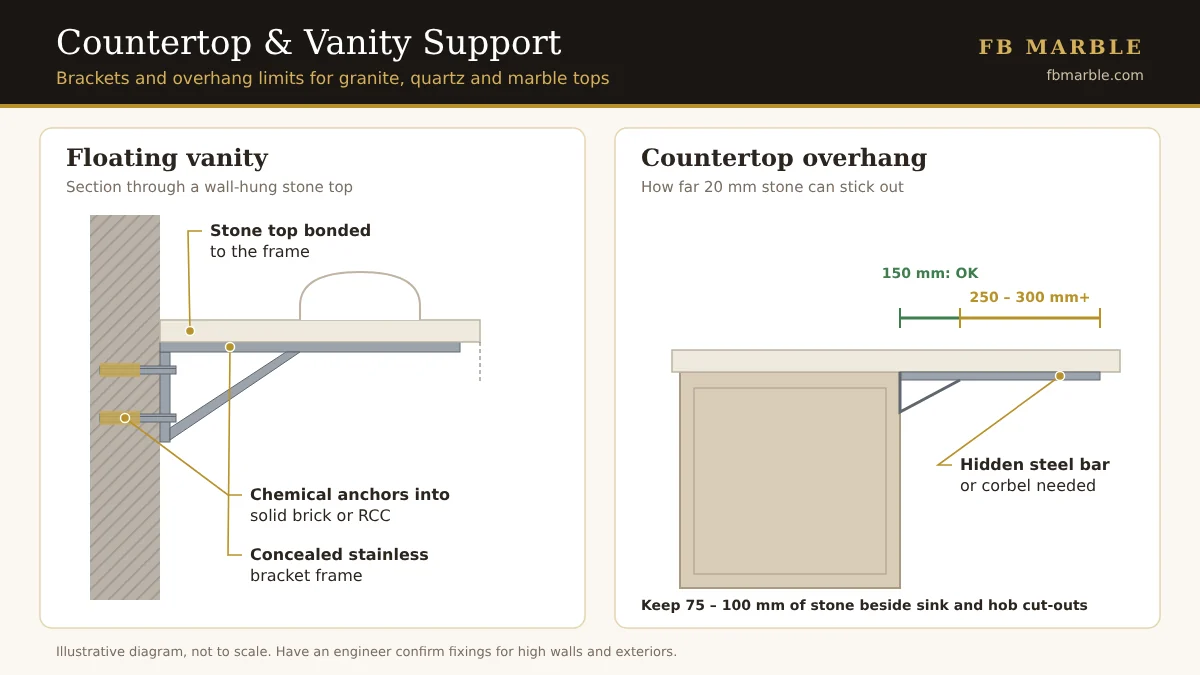
| Short seating overhang, up to about 150mm (20mm stone) | Usually fine if the rest of the top is well supported |
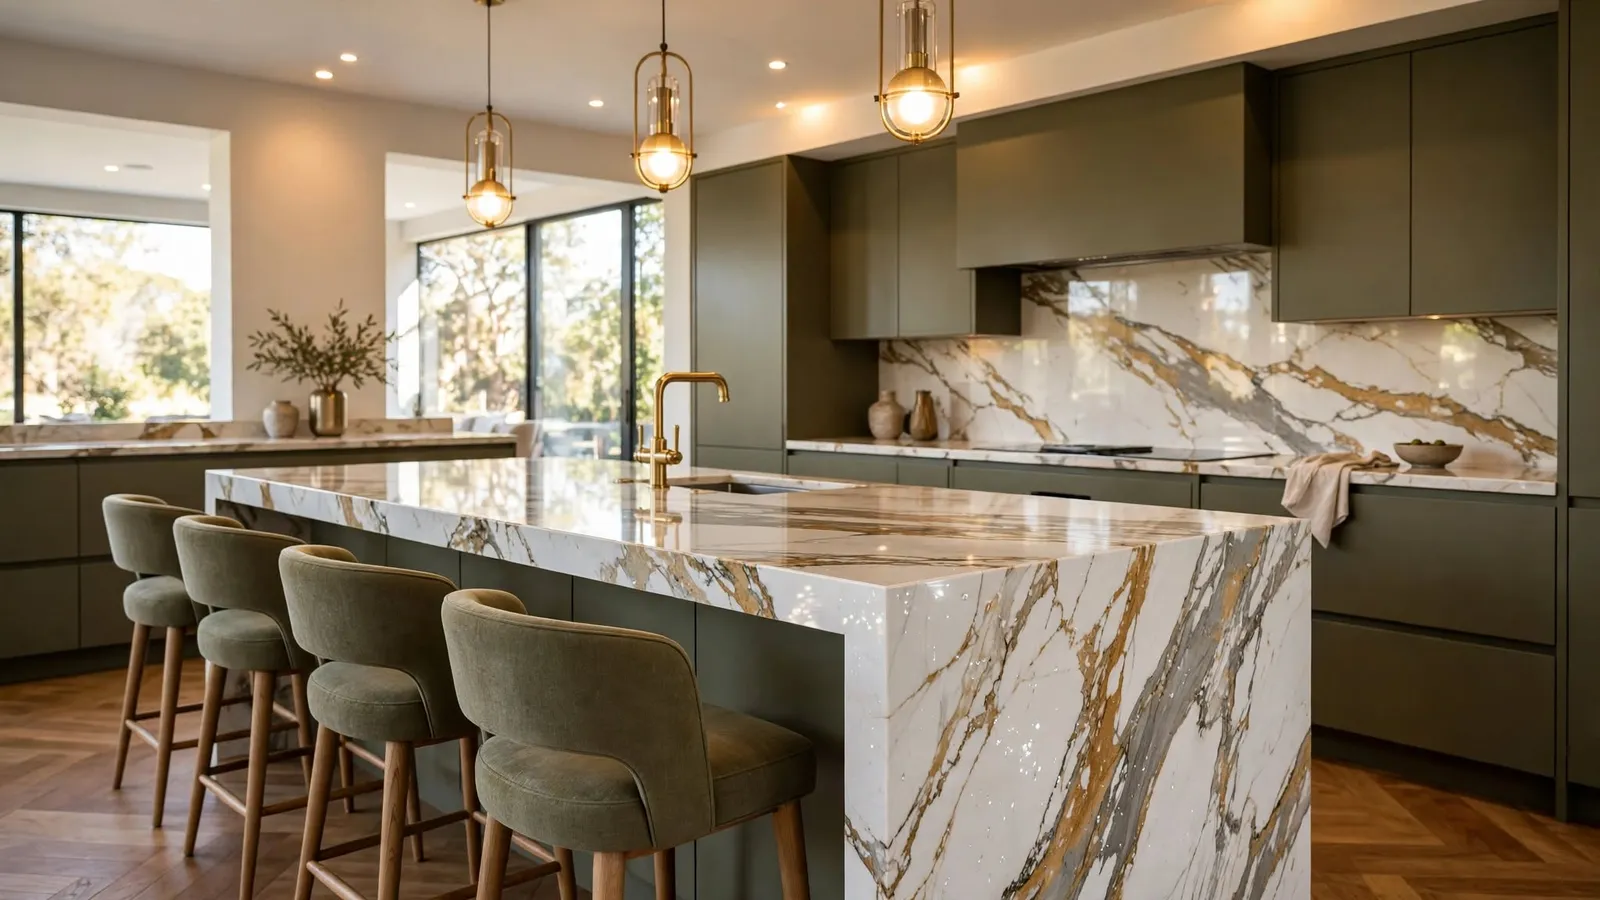
| Breakfast bar, 250 – 300mm or more | Hidden steel brackets or flat bars, or corbels |
| Long cantilevers, floating tops | Steel frame designed for the load |
Thicker stone (30mm) can overhang further than 20mm. These figures are general guidance; your fabricator should confirm them for the specific stone and layout.
Think about how the overhang will be used. A breakfast bar where children climb onto stools, or where guests lean their elbows during a long chai session, takes far more load than its own weight. Plan support for people, not just for stone.
Step 3: Choose hidden brackets or corbels
Hidden (concealed) brackets are flat steel L-shapes or bars that sit under the stone and fix into the cabinet back or the wall. They are invisible from the front and are the neat choice for islands with seating. Corbels are visible brackets, often decorative, under bar tops in classic kitchens. Use stainless or powder-coated steel, and fix it into solid structure, not just the cabinet side panel.
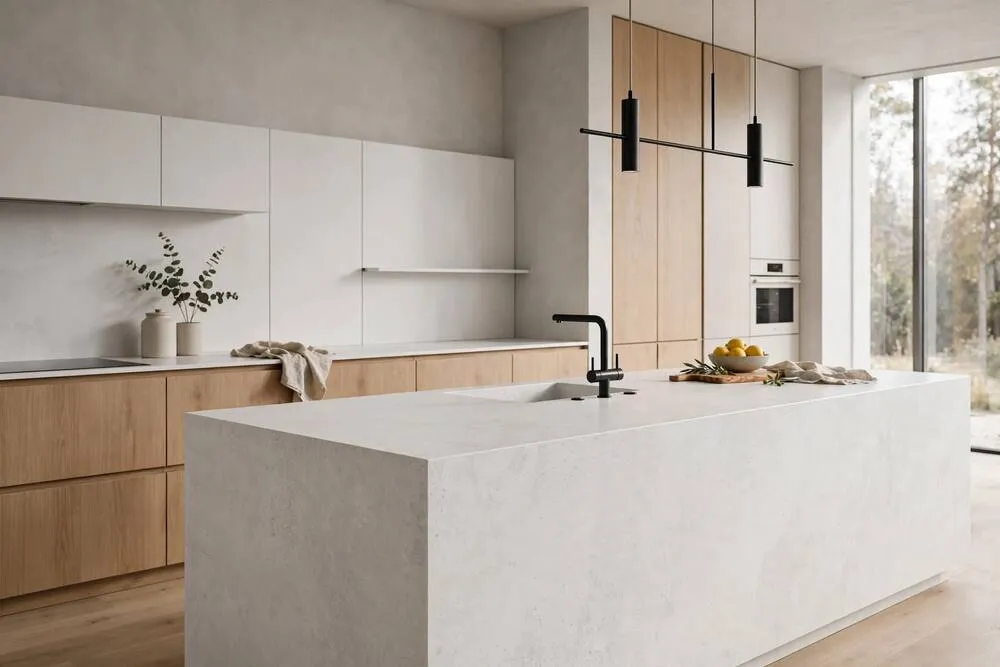
Hidden brackets are usually let into a shallow groove in the top of the cabinet so the stone sits flat on both the cabinet and the steel. Ask where each bracket will go before the cabinets are finished, because adding them afterwards often means cutting into new joinery.
Step 4: Fix floating bathroom vanities
A wall-hung vanity top carries the stone, the basin, water and people leaning on it. The safe way to fix one:
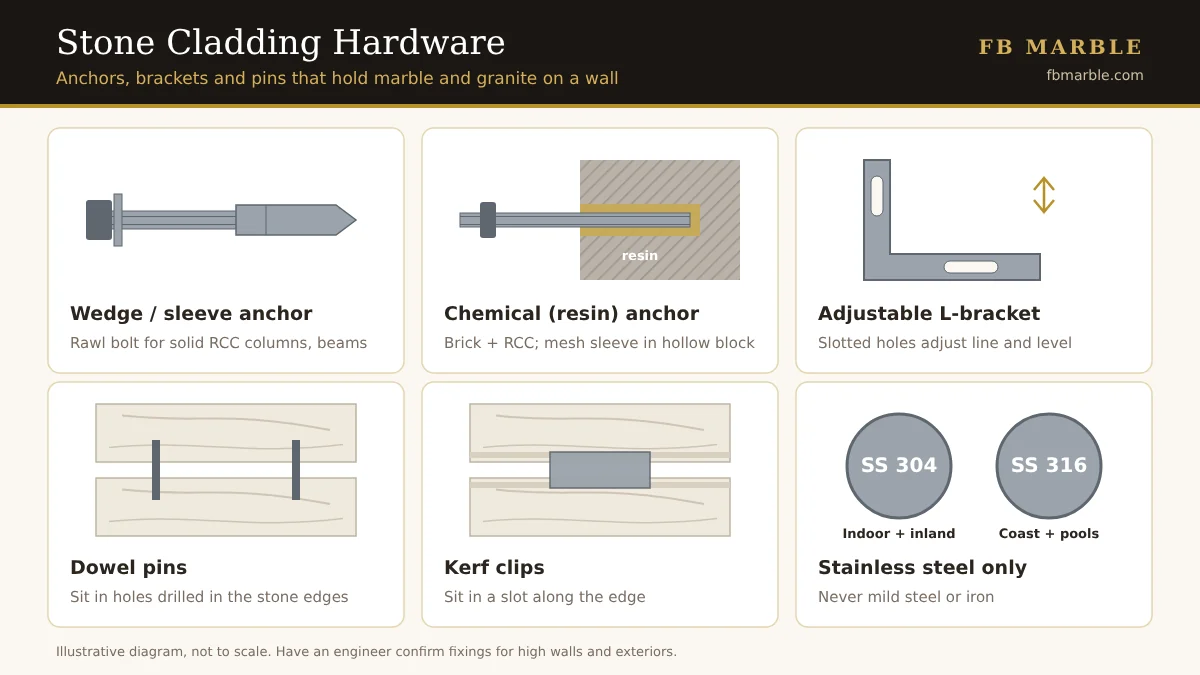
- Fix a steel angle or concealed bracket frame to the wall with anchors suited to it (chemical anchors in brick; see our hardware guide).
- Anchor into solid brick or concrete, not plaster or drywall alone.
- Bond the stone to the frame with a stone-compatible adhesive and support the front edge until it cures.
- For long or deep tops, add a front support or hidden bracket near the basin.
Statuary White quartz and Black Pearl granite are popular for floating vanities. See more in bathroom marble ideas.
Bathroom walls hide pipes and wiring, so mark them before drilling. Fix the frame before the wall tiles go on where possible, so the anchors go straight into brick. In a hard-water area, plan the basin position so splashes run back into the bowl rather than pooling on the top, where they leave white marks.
Step 5: Detail the sink and hob cut-outs
- Keep at least about 75 – 100mm of stone between a cut-out and the edge or a joint; thin strips crack.
- Corners of cut-outs should be rounded, not sharp; sharp inside corners are where cracks start.
- Undermount sinks need sink clips or brackets fixed to the stone with anchors or epoxy, plus silicone. Heavy steel or stone sinks should also be supported from below.
- Leave a small gap around the hob and use the hob's own heat seal, especially on quartz (see quartz vs granite).
- Carry the stone with the cut-out supported, or cut on site, because a long top with a large hole can snap in transport.
Quartz contains resin, which dislikes heat, so the gap and heat seal around a hob matter more on quartz than on granite. A sink full of water and dishes is heavy too; that is why the clips alone are not enough for a deep or double-bowl sink.
Step 6: Place the joints in long tops
Long runs and L-shapes often need a joint. Place it away from the sink and hob, support it underneath, and fill it with colour-matched epoxy. Ask to see where joints will fall on the layout before cutting. For edge choices, see the edge profiles guide.
Step 7: Check the finished top
Once installed, run a level across the top in several directions and press firmly on the overhang and the front edge near the sink. Nothing should rock, creak or flex. Leave props under a floating vanity for as long as the adhesive maker advises, and keep heavy loads off the top until then.
Common mistakes
- Bridging gaps. Stone left to span a dishwasher opening or an open shelf with nothing under it.
- Fixing brackets into side panels only. They must reach solid structure or the wall.
- Anchoring into plaster. A floating vanity hung on plaster will pull out over time.
- Thin strips beside sinks. Less than about 75mm of stone at the front of a cut-out invites cracks.
- Sharp inside corners. Square cut-out corners concentrate stress.
- Transporting tops with unsupported cut-outs. They can snap on the way up the stairs.
Stones in this guide
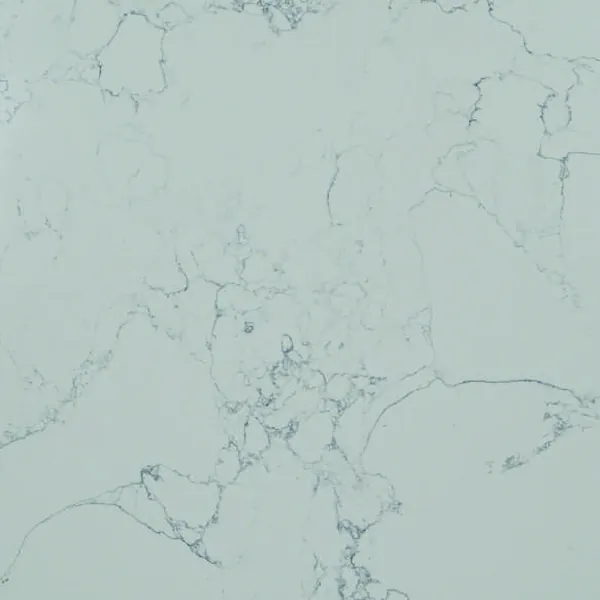

Estimated rates per square foot for the slab only, as listed on each stone's page. Rates move with stock and import costs, so confirm today's price on WhatsApp.
Frequently asked questions
How far can a granite countertop overhang without support?
As a general guide, about 150mm for 20mm stone if the rest of the top is well supported. Breakfast bars of 250 – 300mm or more need hidden steel brackets or corbels.
How do I install a floating marble or quartz vanity?
Fix a steel bracket frame to solid wall with suitable anchors, bond the stone to it, and support the front edge until the adhesive cures.
Why did my countertop crack near the sink?
Usually a thin strip of stone beside the cut-out, sharp inside corners, poor support underneath, or the top was carried with the cut-out unsupported.
Do undermount sinks need extra support?
Yes. Use sink clips or brackets fixed to the stone, and support heavy sinks from below as well.
How heavy is a granite countertop?
About 4.5 to 5.5 kg per square foot at 20mm and about 7 to 8 kg at 30mm, so a 10-foot kitchen run in 20mm stone is roughly 100 kg.
How often should cabinets support a stone top?
Cabinets should be level and strong, with supports at least every 60 cm or so, and a steel angle or strip across wide openings such as a dishwasher gap.
Want to see these stones in person?
Visit our showroom at Bedian Road, DHA Phase 6, Lahore, ask for free samples, or send us your measurements for a quote.