
Epoxy for Granite and Marble: Joining Seams, Filling Chips and Matching the Colour
A well-made granite seam is almost invisible, and a chipped edge can be repaired so you have to look for it. Both depend on the same thing: the right epoxy, tinted to the stone and finished properly.
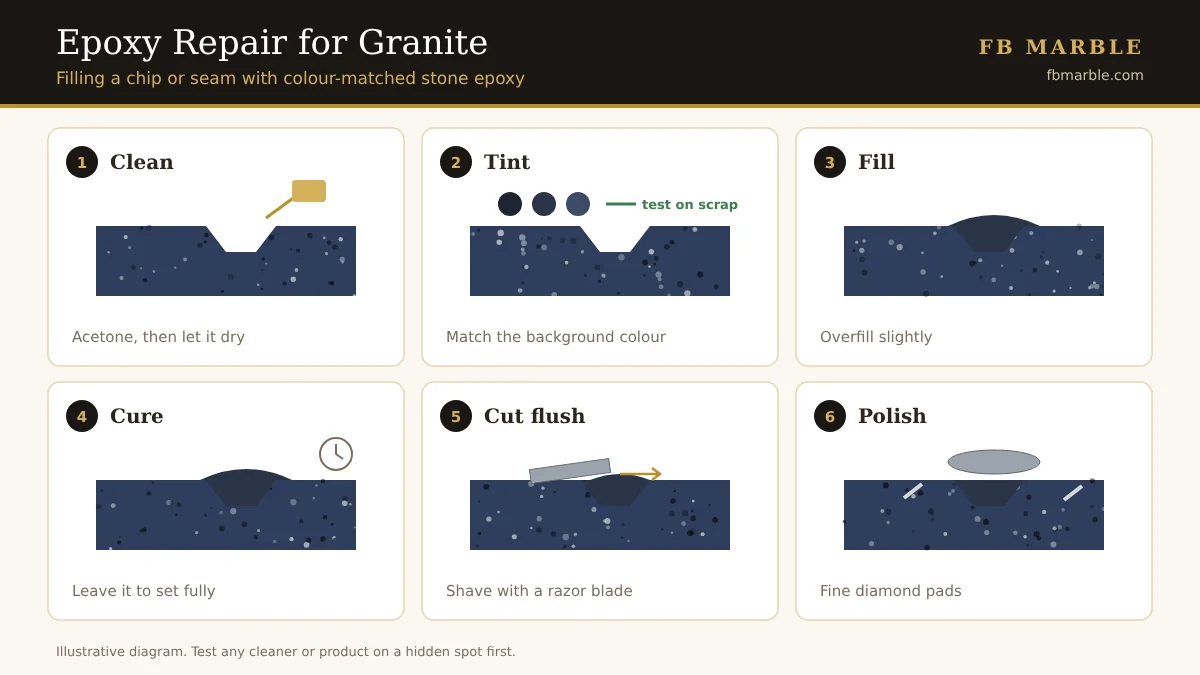
Fabricators use stone adhesives every day: to join two slabs on an L-shaped counter, to build a thick-looking mitred edge, to fix a chip, or to bond a crack. Knowing the basics helps you check the work and do small repairs yourself.
A good epoxy repair is hard to spot. A poor one shows as a shiny line, a yellowed patch or a blob that catches the light. The difference comes from three things: choosing the right type of adhesive, matching the colour to the stone, and finishing the cured epoxy flush and polished. This guide covers each one, then walks through joining a seam and filling a chip step by step.
What you need
- Two-part stone epoxy: knife-grade for seams and edges, flowing for fine cracks.
- Stone pigments or tinting pastes made for epoxy.
- A little stone dust from the same granite, for speckled stones.
- Acetone and lint-free cloths for cleaning.
- Paper masking tape, a mixing board and a small spatula.
- A seam clamp for joining pieces.
- A sharp razor blade and fine diamond polishing pads.
- A scrap piece of the same stone for testing colour.
Step 1: Choose the right type of stone adhesive
| Type | Best for | Notes |
|---|---|---|
| Knife-grade epoxy (thick) | Seams, mitred edges, vertical repairs | Does not run; strong bond |
| Flowing / liquid epoxy | Hairline cracks, small chips on flat tops | Runs into the crack; needs a flat surface |
| Polyester stone glue | Quick workshop fixes | Sets fast but can yellow in sunlight; not for outdoors |
| Clear UV-stable epoxy | Light stones, outdoors | Resists yellowing |
Always mix two-part epoxy in the ratio the maker gives. Too much hardener does not make it stronger; it makes it brittle or sticky.
Temperature matters too. In the heat of a Lahore summer, epoxy sets much faster than the label suggests, so mix small batches and work quickly, ideally in the cooler part of the day. In cold winter mornings it sets more slowly; give it longer before cutting it flush. Keep the tins out of direct sun on site.
Step 2: Match the colour
- Use stone pigments or tinting pastes made for epoxy, not paint.
- Match the background colour of the stone, not the speckles. On Blue Pearl or Galaxy Black, a near-black epoxy disappears; on Indus Gold or Kashmir Gold, a warm beige works.
- Mix a little stone dust into the epoxy for speckled granites.
- Test on a scrap piece and let it cure; colour often darkens slightly when set.

Add pigment a tiny amount at a time. It is easy to darken a mix and impossible to lighten it without adding more epoxy. Look at the colour in daylight as well as under the kitchen lights, because warm indoor bulbs can make a beige mix look right when it is actually too yellow.
Step 3: Join a countertop seam
- Dry-fit the pieces and check they are level; support the seam underneath.
- Clean both edges with acetone so there is no dust or grease.
- Mask the surface either side of the joint.
- Apply tinted knife-grade epoxy to both edges and pull the pieces together with a seam clamp.
- Level the surfaces, scrape off the excess and let it cure fully.
- Cut the cured epoxy flush with a razor blade and polish if needed.
Seam position is decided before any glue is mixed. Joints should sit away from the sink and the hob, where water and heat put the most stress on them, and they need support underneath. A good seam is narrow, level on both sides and the same colour as the background of the stone.
Step 4: Fill a chip
- Clean the chip with acetone and let it dry.
- Fill slightly above the surface with tinted epoxy.
- For edge chips, use tape as a temporary mould to hold the shape.
- After curing, shave it flush with a razor, then polish with fine diamond pads.

Chips usually appear on the front edge near the sink and hob, where steel pateelas, pressure cookers and heavy kadhais get knocked against the stone. Fill them early. An open chip collects grease and dirt, which is harder to clean out and can show through the repair.
If you still have the broken piece, it can often be glued back with tinted knife-grade epoxy instead of building up a fill, which usually gives a neater result.
Step 5: Bond a hairline crack
For a fine, stable hairline crack on a flat top, clean it with acetone and let it dry fully. Mask either side, then run tinted flowing epoxy along the crack so it soaks in. Leave a small excess on top, let it cure, then shave flush and polish. Afterwards, reseal the area so water does not find its way into any part that was not filled.
Step 6: Finish and check the repair
Once cured, run a fingertip across the repair. You should not feel a ridge or a dip. Look at it from a low angle against the window light; a properly polished repair reflects light the same way as the stone around it. If it looks dull, work through finer diamond pads until the shine matches.
Which repair for which job
| Job | Adhesive | Do it yourself? |
|---|---|---|
| Small chip on an edge or around a sink | Tinted knife-grade epoxy, taped mould | Yes, with care |
| Broken piece you still have | Tinted knife-grade epoxy | Yes, for small pieces |
| Fine, stable hairline crack on a flat top | Tinted flowing epoxy, then reseal | Yes |
| Seam between two slabs | Tinted knife-grade epoxy and seam clamp | Usually the fabricator |
| Mitred edge | Tinted knife-grade epoxy | Fabricator |
| Repair on light stone or outdoors | Clear UV-stable epoxy | Depends on size |
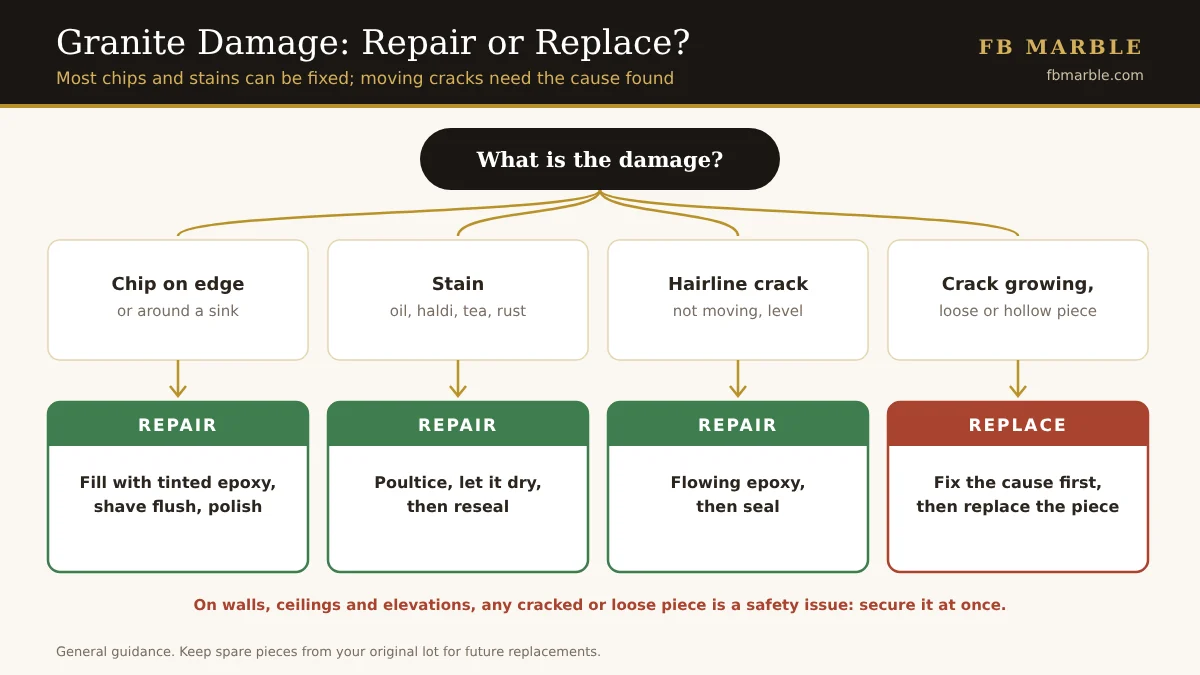
| Crack that grows, or a loose or broken piece | More than a fill is needed | No; find the cause first |
Work safely whichever job you take on. Open a window, wear gloves when mixing epoxy and handling acetone, and keep both away from the hob and from children. Clean tools with acetone before the epoxy sets, as cured epoxy is very hard to remove.
Common mistakes
- Guessing the mixing ratio. Extra hardener makes epoxy brittle or sticky.
- Matching the speckles instead of the background. The repair stands out as a dark or light line.
- Using paint to tint epoxy. Use pigments made for stone epoxy.
- Using polyester glue outdoors or on light stone. It can yellow in sunlight.
- Filling flush instead of slightly proud. Without a little excess, there is nothing to shave and polish level, and any dip shows.
- Cutting before it has fully cured. Soft epoxy tears out of the joint.
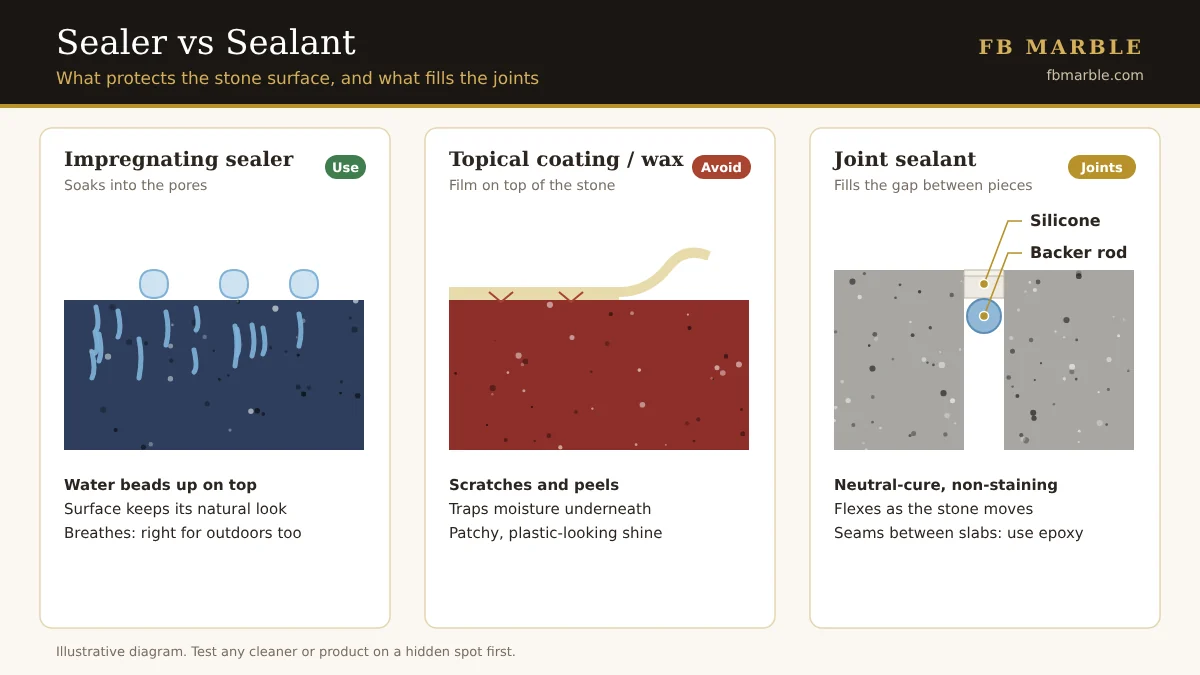
- Using epoxy where joints need to move. Sink and wall joints need flexible silicone.
Bigger cracks and broken pieces need more than a fill. Read repair or replace before you decide. And remember: epoxy joins stone, while flexible stone silicone seals the joints that need to move.
Stones in this guide
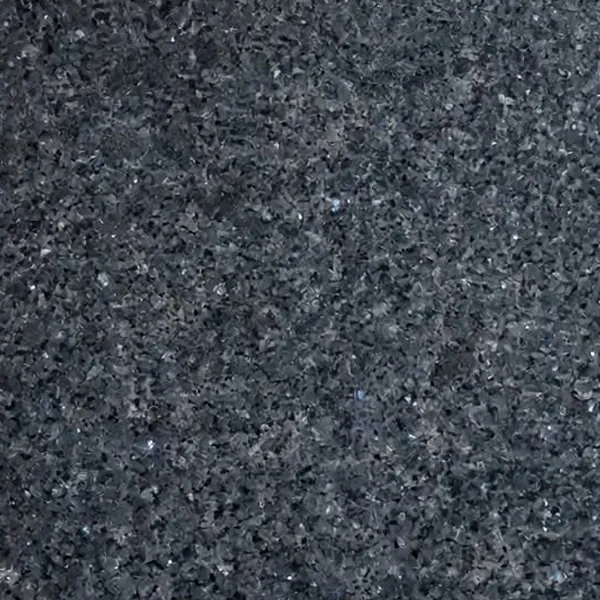 Blue Pearl GraniteFrom Rs 1,900 / sq ft
 Galaxy Black GraniteFrom Rs 1,600 / sq ft
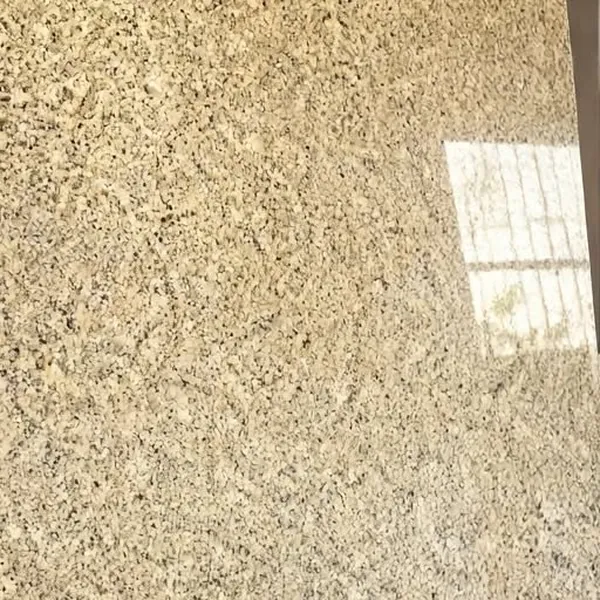 Indus Gold GraniteFrom Rs 450 / sq ft
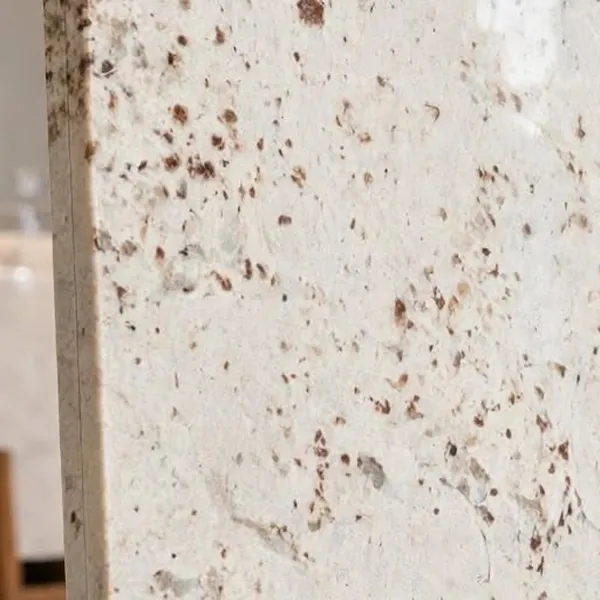 Kashmir Gold GraniteFrom Rs 1,800 / sq ft
Estimated rates per square foot for the slab only, as listed on each stone's page. Rates move with stock and import costs, so confirm today's price on WhatsApp.
Frequently asked questions
What epoxy is used for granite countertops?
Knife-grade (thick) stone epoxy for seams and edges, and flowing epoxy for fine cracks. Both are tinted to match the stone.
How do you colour-match epoxy to granite?
Tint with stone pigments to the background colour of the granite, add a little stone dust for speckled stones, and test on a scrap piece first.
Can I repair a chipped granite edge myself?
Small chips, yes: clean with acetone, overfill with tinted epoxy, let it cure, shave flush with a razor and polish.
Is polyester stone glue okay outdoors?
No. Polyester glue can yellow in sunlight. Use a UV-stable epoxy for outdoor and light-coloured stone.
Does adding more hardener make epoxy stronger?
No. Mix in the ratio the maker gives. Too much hardener makes the epoxy brittle or sticky.
Should a countertop seam be filled with silicone or epoxy?
Epoxy. Seams are bonded with colour-matched epoxy that sets hard and is polished flush, while silicone is for sink, hob and wall joints that move slightly.
Want to see these stones in person?
Visit our showroom at Bedian Road, DHA Phase 6, Lahore, ask for free samples, or send us your measurements for a quote.
Keep reading
 Stone CareDamaged Granite: When to Repair Chips, Cracks and Stains, and When to Replace the Piece
 Stone CareSealer vs Sealant for Granite: Impregnating Sealers, Stone Silicone and Joint Fillers Explained
 InstallationSupporting Stone Countertops and Floating Vanities: Brackets, Overhangs and Sink Cut-Outs