Sealer vs Sealant for Granite: Impregnating Sealers, Stone Silicone and Joint Fillers Explained
Two words, two very different products. Using a shiny coating where you needed a penetrating sealer, or ordinary silicone where you needed stone silicone, is how granite gets stained edges and peeling patches.
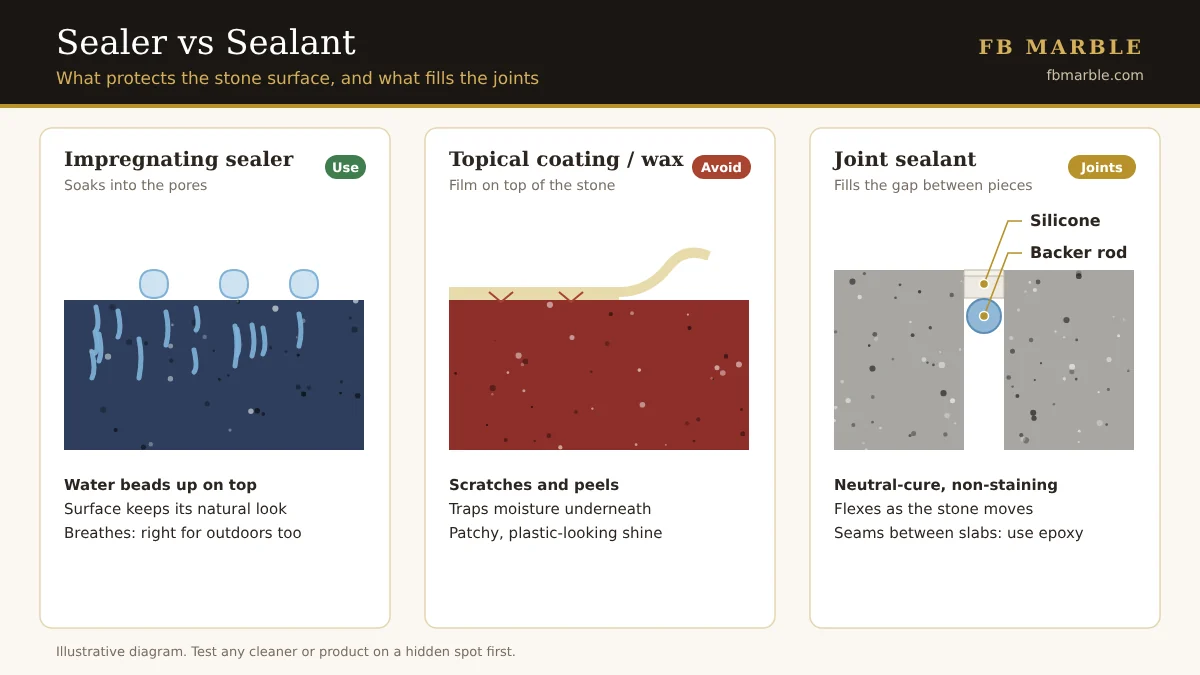
In the market, people say "sealer" and "sealant" as if they were the same. They are not. A sealer protects the surface of the stone from stains. A sealant is a flexible filler, usually silicone or polyurethane, that closes the joints between pieces and around sinks. Most jobs need both.
Mixing them up causes two of the most annoying problems with new granite: a hazy or peeling surface where a shiny coating was used instead of a penetrating sealer, and dark, oily lines along the edges of light stone where the wrong silicone was used at the sink or the wall. This guide explains each product, where it goes and how to apply it step by step.
What you need
- An impregnating (penetrating) sealer, or a colour-enhancing impregnator for dark textured finishes.
- Neutral-cure silicone made for natural stone, in a colour close to the stone or clear.
- Stone-safe polyurethane or silicone and foam backer rod for outdoor movement joints.
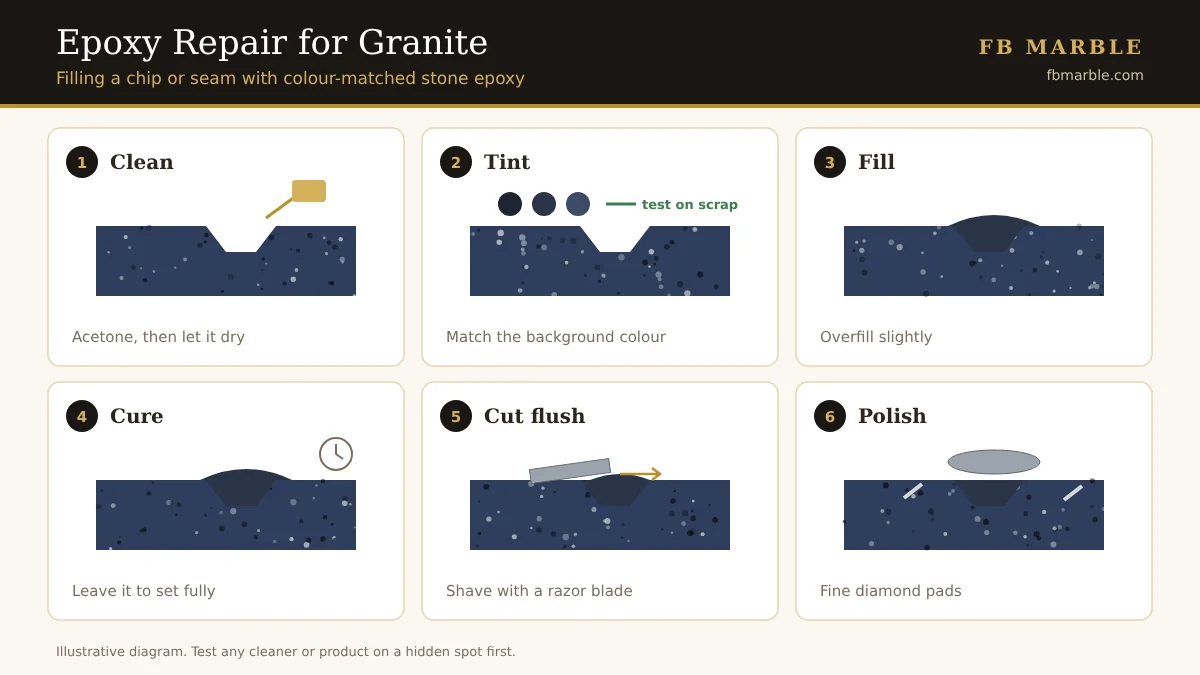
- Colour-matched epoxy for seams between countertop pieces.
- Lint-free cloths, paper masking tape, a spatula, and spirit or acetone for cleaning joints.
- A spare offcut of the same stone for testing.
Step 1: Understand sealers, which protect the surface
| Type | How it works | Use it? |
|---|---|---|
| Impregnating (penetrating) sealer | Soaks into the pores and leaves the surface natural | Yes: kitchens, bathrooms, floors, outdoors |
| Colour-enhancing impregnator | Same, but deepens the colour like a "wet look" | Good on leather, honed and flamed dark granites |
| Topical coating / wax | Forms a shiny film on top | Avoid on granite: scratches, peels and traps moisture |
An impregnating sealer does not make granite stain-proof. It slows down how fast oil, haldi, tea and water soak in, which gives you time to wipe a spill before it marks. That matters most on lighter and more porous stones, such as red, pink and light brown granites, and around the hob where ghee and oil splash daily.
Step 2: Apply the sealer correctly
Apply sealer to clean, completely dry stone, leave it for the time on the label, then wipe off all the excess. Excess left on the surface dries into a hazy film. The full steps and the water test are in our sealing guide.
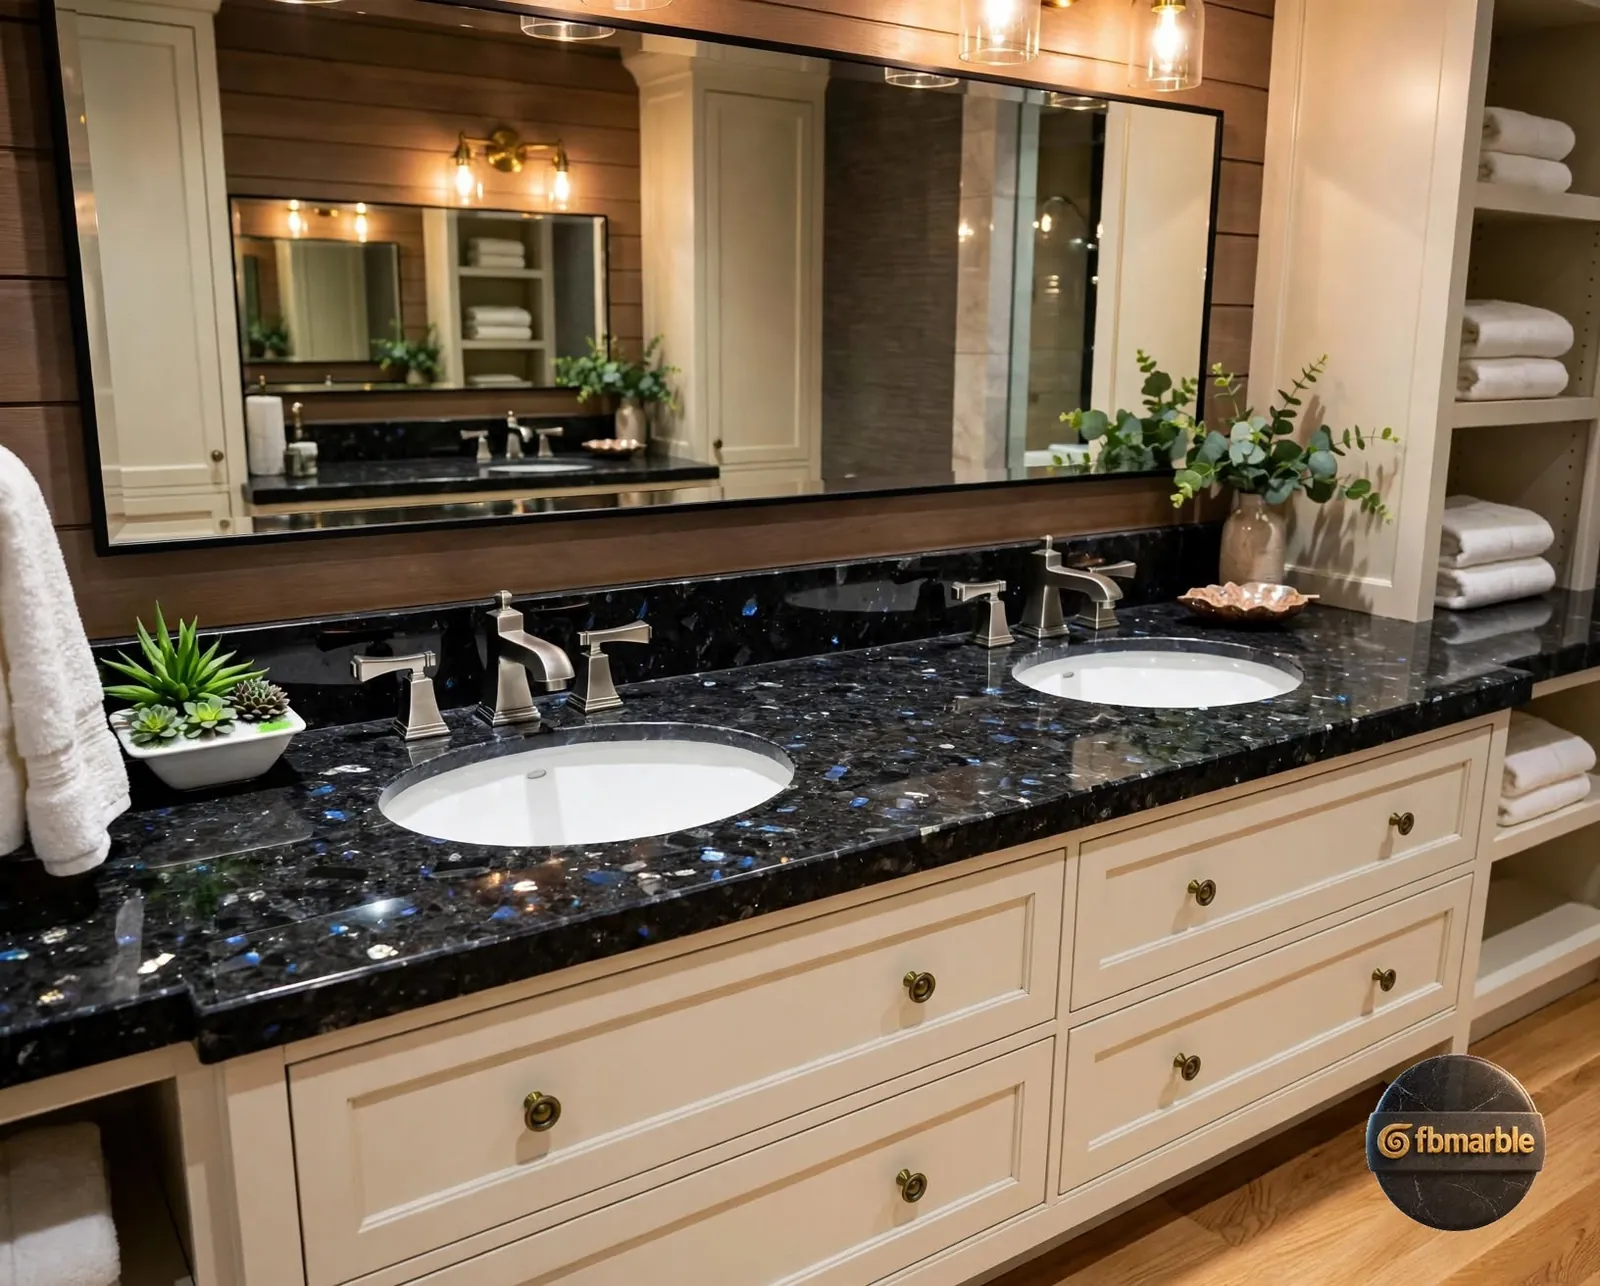
"Completely dry" is important. If a counter has just been washed, or a floor has just been mopped, wait until the stone has dried right through. In humid monsoon weather that takes longer than in the dry heat of May. Sealer applied over damp stone does not soak in properly. Work in small areas, and keep a clean dry cloth ready to buff each one before moving to the next.
Step 3: Understand sealants, which close joints
- Use a neutral-cure silicone made for natural stone. Ordinary acetic (vinegar-smelling) silicone and cheap silicones can leave dark, oily marks that spread into the edges of light granite and marble.
- Choose a colour close to the stone, or clear, and test on a spare piece first.
- For sinks, hob edges and backsplash joints, silicone is right because these joints move slightly.
- For outdoor movement joints on terraces and elevations, use a stone-safe polyurethane or silicone with a foam backer rod behind it, so the sealant bonds only to the two sides.
The test on a spare piece is worth the wait. Run a short bead on an offcut, leave it for a few days, then look at the stone beside it. Any dark line spreading out from the bead means that silicone is not safe for your stone.
Step 4: Apply silicone neatly
- Clean the joint and wipe with spirit or acetone; it must be dry.
- Mask both edges with paper tape.
- Run an even bead and tool it smooth with a spatula or a wet finger.
- Peel the tape straight away, before the silicone skins.
- Keep water off it for the time on the cartridge, usually a day.
Around a kitchen sink, that means planning a day without washing up at that sink. In a bathroom, use another basin or shower for a day. Water on fresh silicone spoils the bond and can leave it soft or patchy.
Silicone at sinks and basins does not last forever. Check it once a year, and cut out and replace any bead that has gone black with mould, pulled away from the stone or cracked. Hard water and soap build up along it, so wipe the bead dry along with the counter.
Step 5: Know where epoxy fits in
Seams between two pieces of a countertop are usually not filled with silicone. They are glued with colour-matched epoxy or stone glue, which sets hard and can be polished flush. See our epoxy guide.

The simple rule: joints that must stay rigid and invisible get epoxy; joints that need to move, or meet a different material such as a wall, a sink or a hob, get silicone.
Quick guide: what goes where
| Location | Product |
|---|---|
| Countertop and floor surface | Impregnating sealer |
| Countertop seam between slabs | Colour-matched epoxy |
| Sink, hob and wall joints | Neutral-cure stone silicone |
| Outdoor movement joints | Stone-safe sealant with backer rod |
Step 6: Plan sealer and sealant room by room
A typical house uses all four products in different places. Working through the house room by room makes it easier to buy the right things and brief the fixer.
- Kitchen: impregnating sealer on the counter, epoxy at any seam in an L-shape or island, and neutral-cure stone silicone where the top meets the sink, the hob and the backsplash wall.
- Bathrooms: impregnating sealer on vanity tops and floors, and stone silicone around basins, along the wall joint and where the floor meets the shower tray or drain.
- Lounges and bedrooms: impregnating sealer on polished floors where needed, usually with no silicone at all.
- Outdoors: a breathable impregnating sealer on steps, porches and terraces, and stone-safe sealant with a backer rod in movement joints.
On marble floors or thresholds next to granite, remember that marble etches with acids, so clean it with a neutral cleaner and check it with the same water test as the granite beside it.
Step 7: Check and refresh every year
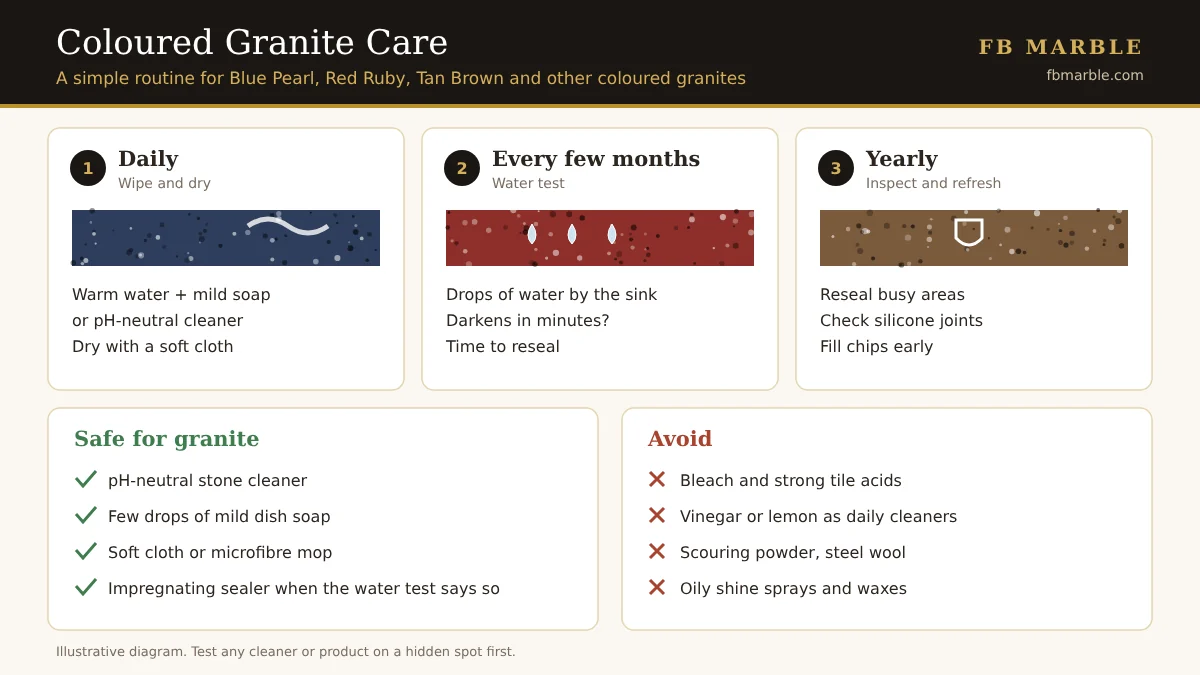
Once a year, do the water test on the busiest parts of each counter and floor: a few drops of water left for several minutes. If the stone darkens, reseal that area. At the same time, run a finger along every silicone joint at sinks and basins, and look at outdoor joints after the monsoon. Replace any bead that has cracked, gone mouldy or come away from the stone. Doing both jobs together keeps the stone protected and the joints watertight with very little effort.
Common mistakes
- Using a shiny topical coating on granite. It scratches, peels and traps moisture, and is worse outdoors in summer sun.
- Leaving excess sealer on the surface. It dries into a hazy film.
- Sealing damp stone. The sealer cannot soak in.
- Using acetic or cheap silicone on light stone. It can leave dark oily lines along the edges.
- Filling countertop seams with silicone. Seams should be epoxied and polished flush.
- Skipping the backer rod outdoors. Sealant stuck to the back of the joint tears when the stone moves.
- Washing up straight after siliconing. Keep water off for the curing time.
Frequently asked questions
What is the difference between a sealer and a sealant?
A sealer soaks into the stone surface to resist stains. A sealant is a flexible filler, such as silicone, that closes joints between pieces and around sinks.
Which silicone is safe for granite and marble?
A neutral-cure silicone made for natural stone. Ordinary acetic silicone can leave dark oily stains along the edges of light stone.
Should I use a shiny coating on granite?
No. Topical coatings scratch, peel and trap moisture. Use an impregnating sealer that leaves the natural finish.
Are countertop seams filled with silicone?
Usually not. Seams are bonded with colour-matched epoxy that sets hard and is polished flush.
Why does my granite look hazy after sealing?
Excess sealer was left on the surface and dried into a film. Always wipe off all the excess after the time given on the label.
How long should silicone be kept dry after applying it?
For the time given on the cartridge, usually about a day, so it cures fully before water reaches it.
Want to see these stones in person?
Visit our showroom at Bedian Road, DHA Phase 6, Lahore, ask for free samples, or send us your measurements for a quote.